
I’ve been looking at 3D pens off and on for awhile. I wanted to try one, but I also wasn’t sure if I was ever going to use it. I know the kids have been looking at them too.
So I was pretty thrilled to be offered the IDO3D pen set!
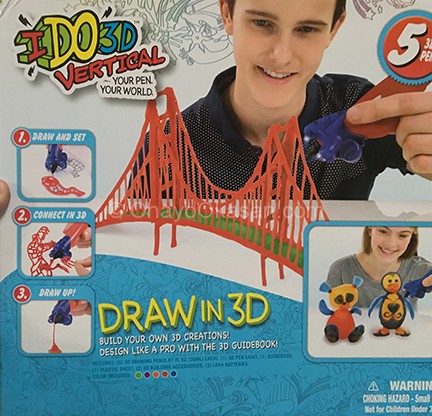
5 colors! Make cool 3D stuff! SO AWESOME!
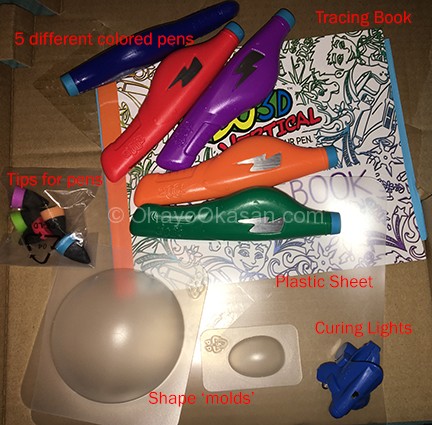
When I opened up the package I was pretty impressed with everything inside. Two different plastic shapes to help with domes, or egg shaped type domes. Neat, neat. Plastic sheet to keep your stuff from sticking to your table. Five colored pens.. Interesting.. Their little pointed tips came separate. Hmm. Okay. A book with some tips, and tracing areas. Plus the little 3-light curing system for the 3D liquid.
I was eager to break into the IDO3D pen set right away! Read not enough of the instructions (oops) and decided that the Pegasus looked totally fun! Intermediate rating be darned!
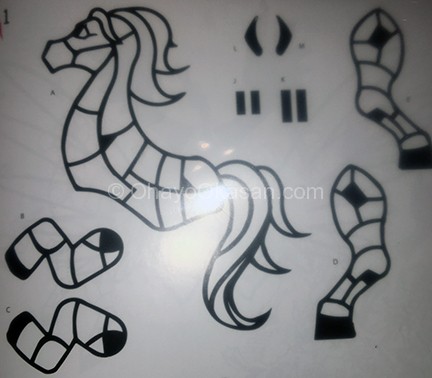
I can SO totally do this… right?! So I set about setting up my first color. I wanted to do all sorts of colorfulness with this Pegasus. It was going to be… AWESOME.
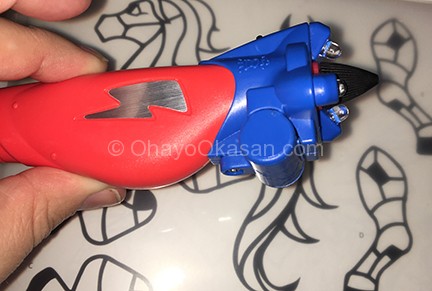
My snazzy little IDO3D curing lights attached to my first color, red. Let’s get down to business! To draw things that are flat first, you have to keep the lights off.
I had a hard time squeezing the material out of the pens at first. The rest was more difficult than the blue I’ll show you later on.
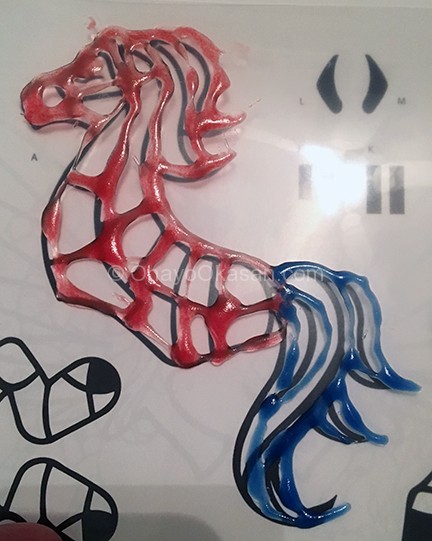
A tip on the website said to draw a little, then cure. So your IDO3D liquid stuff would not spread so much. I didn’t read that beforehand. So I did the whole horse body and was annoyed when it was all blobular at the face area. It also took forever (it felt like) to cure it. It stayed sticky a bit too much too.
By the way, I instantly understood what this was when I opened the red pen to put it’s little tip cap on. It’s basically like acrylic nail polish, but a little bit thicker. It cures via the 3 LED lights on the little blue part. Interesting. I realize now that I could get the tackiness off the actual items with a little bit of my 90% rubbing alcohol when I get annoyed at holding the lamp there too long. Alternatively I could cure it mostly with the little pen lamp and then use my nail art UV lamp to cure it some more. XD I like that idea. But wouldn’t really let my kids play around with my UV lamp that I use for my nail art.
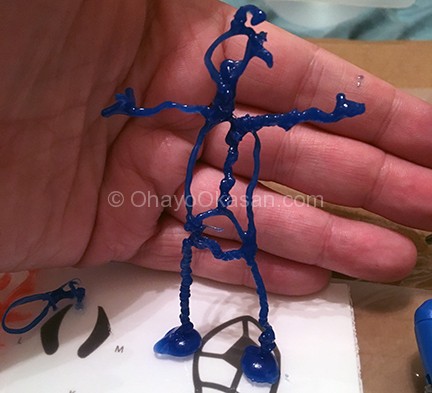
I accidentally broke part of my horse body when I tried to pick it up. Another tip for the flat items if that you can cure them from both sides of the plastic paper. Just do the top side first so it’s not all runny.
I decided I really wanted to put the IDO3D pens to the test with the whole vertical drawing thing. So in I plopped the blue pen, put on the lights, read the instructions a little more and decided to go for it with making my little blobby dude! He was so much more fun to make than working on the tracing of the Pegasus body was. I did not end up finishing the Pegasus. Risi wanted to try and play too but she’s not even 3 so.. yeah. I instead gave the kit to Lisi and she ran away up to her room and played it with and made some tracings and her own little 3D blobby dude and things with the dome. She plans to use it more later.
All in all? Pretty fun! I’d have LOVED something like this as a kid! Just make sure you all read the instructions and tips on the website first. Go slowly, learn how to use it a bit before jumping into something like a Pegasus like I did. XD


That’s an interesting pen. I don’t think I’ve seen one like that. Thank you for the review.
Interesting list of 3d pens. I will prefer IDO3D pen set for my kids. Thanks for 3d pens review.