It’s been pretty much forever since I did my felt banana tutorial, and I planned to get out more tutorials sooner… but… well… sometimes I just fail and life catches me unable to really get allthe things done I ‘want’ to get done.
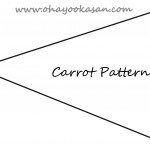
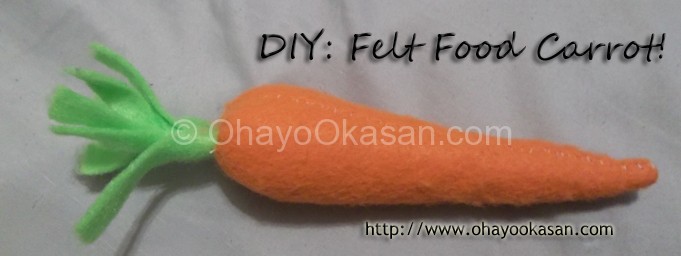
You’ll want to start with a pattern, I made a simple one that you can use. Just click the thumbnail and print it. It’s really that simple. You’ll see how single it is to make a carrot like the one above!
You will need the following:
- Orange or Yellow Felt
- Green Felt (whatever green you want really…) really, you only need a palm sized rectangle, it also does not need to be a perfect rectangle!
- White thread, or you can use matching thread to your play foods, really I haven’t had any trouble using white.
- Scissors
- A needle or sewing machine
- Polyfil/Fiber fluff/felt scraps
- This Pattern ->
Just like in my previous tutorial you can click the thumbnails to get a better idea of what you need to do for each step.
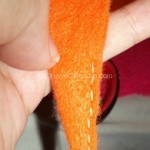 After you’ve cut out your pattern, fold your carrot in half and sew up the open edge. You can either do this by hand using a backstitch, or just a basic straight stich on your sewing machine. As you can see, I didn’t exactly do I good job making the stitching perfectly straight. Carrots don’t need perfection, they’re all sorts of shapes and sizes you know?
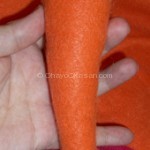 Once you have sewn completely up the sides and you have your carrot tube, turn it inside out. You’ll need something to help you push through the thinner parts of your carrot. A chopstick or knitting needle works well, as does an unsharpened pencil or pen with it’s cap on.
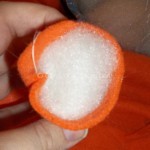 Now fill your carrot with the Polyfil or whatever you have decided to use. Start slowly, as you’ll really need to work your fluff down into the thinner parts of the carrot. The same thing you used to push your carrot right side out works here to help you get the fluff down the right way.
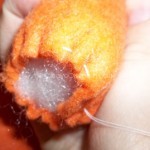 Next you’ll want to gather around the top of carrot with a simple running stitch, pull it closed and add more filling if you need to.
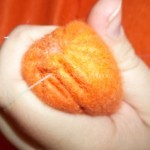 Pull your carrot shut tight, and keep it tight as you can, using a spare finger to hold the thread tight.
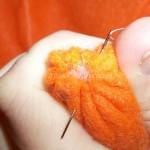 You’re going to sew the top closed by going from one gathered bit, through to another one, as you see in the picture to your left. You continue this around until you feel the carrot is securely shut enough.
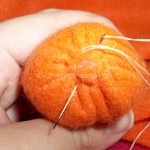 Eventually the top of your carrot will look like this. Yay! You’re done if you don’t want a carrot with any green on top. Which means please knot your thread off very securely.
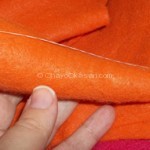 <- This picture shows the carrot if you just leave it as is, no green top.
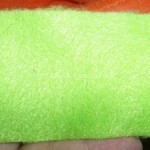 Now you have a green rectangle, good good. I just picked up a random piece of brightish green felt and cut out a rectangle roughly the palm of my hand. I didn’t bother using a pattern, I just made it very basic. It’s not perfect, but again… Carrots are natural and they’re all sorts of shapes, so are the green plant parts! ^_^
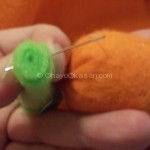 Roll your rectangle up along the long ways, by that I mean roll from one short part down to the next. You’ll only want to worry about keeping the bottom tightly rolled really. Then you’ll place your needle through your edge/end and out through the other side.
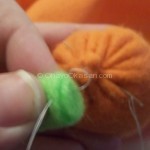 Now take your needle down through the carrot from one gathered top point through to another. Go up into your green leafy point at a different spot, and out through the opposite side again. Continue working around the top of the carrot and the rolled bottom part of your green top until your top is secured to your carrot.
Make sure you tie off your thread tightly when you’re finish, give it a good triple or quadruple not for added security.
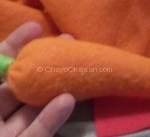 For younger kids I recommend you stop here. You’ll have a nice little rolled top part for your carrot and no small little string parts for them to try and tear off. I’ve made these before back when Lisi was 1 1/2 and 2 and we still have our original ones holding up just fine. For older kids, you can continue to give the carrot a bit more personality!
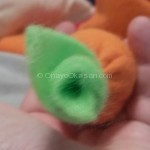 See what a cute little rolled top the carrot has? Perfect for little hands and should hold up super well. Like I said above, we have some felt food that is 6 1/2 and 6 years old!!
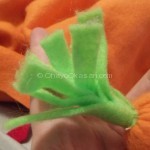 For older kids you can take your scissors and cut down little strips through your green rolled top. They don’t have to be totally perfect again, just try and keep them about 1cm and don’t go all the way down. Leave at least half an inch of rolled green fabric uncut towards the top of the carrot.
And there you have it! Your own felt carrot! It takes longer if you do them by hand, but doing the side up by machine and going from there by hand will greatly reduce the time it takes. 🙂
Next.. you can have your goofy 11 year old take a funny picture with the carrot. Because? Well… 11 year old’s are nuts? 😉 J/K! I love you Sisi Bear!!
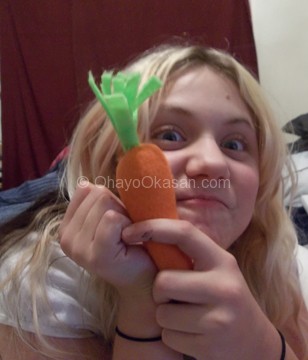
Of course Pika had to get in on the action. Yes, he’s stained… he’s about 6 years old now!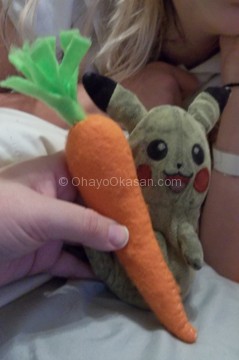 Thank you for reading my tutorial!! I really do hope it helped.


How fun. My son can even help make this
Erinn S recently posted…AFLAC Ultimate College Football Experience Sweepstakes & tips for a safe sports season
How neat! I missed your banana one so I will have to go back and check that out! These would make great ‘play foods’ for the kids! (And much cheaper than store bought plastic ones that don’t survive bites! LOL)
Leila recently posted…My Child’s Consequence? Writing an Apology Letter
This would GREAT for Easter! Thanks for sharing!
Diana @ Nanny to Mommy recently posted…Kale & Quinoa Vegetable Soup with Butternut Squash {Frontier Soups Review}
I have a 12 year old and that is just what they do. Cute idea.
Diatta @ Femme Fitale Fit Club recently posted…#FitnessFriday – Move Something
What a great way to include the kiddos and make something fun. I love the idea of fruits and vegetables to inspire healthy eating.
How awesome! I think that I will definitely be trying to make this with my little guy! I haven’t gotten into felt crafting yet, but I’ve wanted to, and this seems like it could be the best project to go with as a beginner!
Jennifer Corter recently posted…Join The Blog Hoppin’ Card Swappin’ Holiday Link-Up!
cute! I do all sorts of crafts, but I’ve never tried felting or making anything like this. 🙂