Welcome to my first ever Tutorial Tuesday!! Yaaaaaay! I used to have Turkey Tuesday… but now that we don’t live near the WTG anymore *sadness* I needed something else to fill the spot.
I decided since I don’t really make felt food for Etsy anymore (and I am trying to get rid of what stock I DO have…) I might as well just do free felt food tutorials the items I know how to make, as well as make items I haven’t tried before in order to spread the love of felt food and DIYing stuff. So here goes!
This is the my felt banana tutorial featuring the pattern I made up.
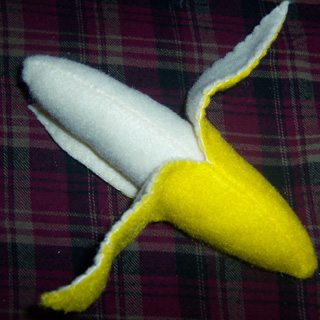
I used to make lots of felt food and felt (heh) that I was pretty good at it. Felt Banana’s were one of my absolute favorite things to make, because despite my allergy to Banana’s in real life… I absolutely love the smell, and taste of them. So Felt Banana’s were an easy love right off the bat, that and they came out so cute on my first go!
I designed a pattern in photoshop, printed it out, and voila! Felt Banana!
I’ve included step by step pictures to help you make your own felt banana’s for the enjoyment of you, your kids, or someone else’s kids. I’ll do apples next! Lots of these sorts of things are pretty easy once you see them done and have a template. ^_^
Now, this requires being able to or willing to hand sew. If you don’t want to sew by hand, then cut about 1/4 away from the lines of the patterns all around, so you can use your sewing machine. I will link to pages on how to do the stitches I talk about. ^_^
You will need:
- Off white Felt
- Yellow Felt
- White thread
- Needle or sewing machine
- Scissors
- Polyfil/fiber fluff
- Banana and Peel pattern -this link is my pattern you can use!~ 😀
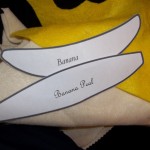 First, gather all your supplies. (I realized I had peel spelled peal for some reason, probably because it was late at night. It’s fixed now!)
Yaaaaay, supplies!
 Cut out two pieces of off white felt for your Banana
Three pieces of off white for the inside of the peel and three yellow for the outside of the peel.
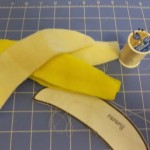 This is what you’ll be starting with. Three yellow peel pieces, three off-white peel pieces, and two off-white inner pieces.
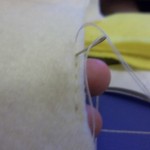 With the soft sides touching, sew around the edge of the Banana using a back stitch, which can be done more than one way, but this page explains how to do it fairly well.
If you cut out the banana bigger to use your sewing machine, just sew around the edge carefully using a straight stitch. Leave a sizable opening at the bottom as you’ll need to turn it right-side-out and stuff it shortly.
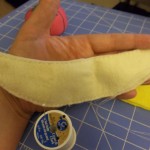 Yay you’ve sewn it up! This is what it looks like with an opening and sewn up around the edges.
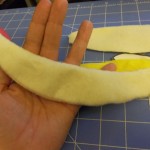 Turn the banana right-side-out so you may stuff it. Be careful, as this can be a little tricky if you didn’t leave yourself a good sized opening at the bottom. Don’t worry, I’ll link you to a video to show you how to close it up.
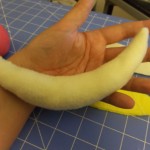 Stuff it full, now sadly for the pictured banana did not have the proper polyfil I wanted. I had the flat stuff that could be used in a blanket (I use for felt cakes, poptarts, etc!) so my banana is a little funky looking here. D:
After the banana is properly stuffed full, you’ll want to close off the end carefully using a whip stitch. Clicking that link will take you to a video that shows you how to do a whip stitch, it’s really easy! ^_^
Now for the peel parts! Whew and YAY!
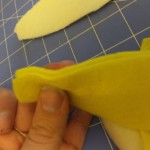 Hold two pieces of yellow peel together and sew up along one side using your back stitch or sewing machine. Only go about half way to two-thirds of the way up, depending on how open you want your peel.
Please do not sew all the way up the side, you’ll end up with a closed banana and that’d be no fun! D:
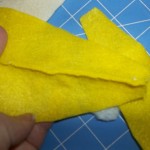 Now what you have should look like this when pressed flat-ish, yay! One part done!
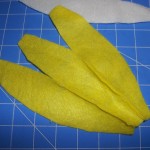 Sew your third piece on to the side of the middle piece using the back stitch or your machine just like you sewed the first two pieces together. So that what you get looks like what you see at the side when it is laid out flat.
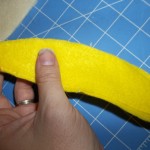 Now sew the end pieces together at their unsewn edges using the back stitch again and only going 1/2 or 2/3 of the way up to match the rest of your stitches.
This is much faster with a sewing machine I will fully admit, but there is something somewhat soothing about just sitting and sewing by hand while listening/half watching tv that makes me still do it.
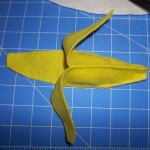 Now admire your peel and pat yourself on the back for a second. WHEW! Halfway there!
Err, well sorta half way there, not exactly. Half way done with the harder part for sure!
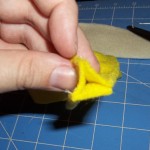 Now here’s something you don’t want to forget! You’ll have an opening at the bottom of your banana. Now you can sew this up however you want and it doesn’t matter too much anyway, since this will be turned right-side-out in just a second.
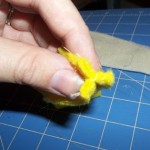 I just do a bit of a crisscross of stitches between the sides so that the bottom ends up looking like this. It doesn’t matter exactly how it looks, since it will be turned right-side-out in just a moment anyway, but you’ll want to make sure it’s sewn up however you want to do it.
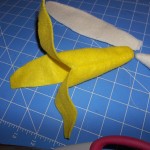 Turn your outer peel right-side-out and enjoy the work you’ve done so far! Look at it! You’re getting there and you’ve taken some felt and turned it into a piece of play fruit! Good on ya!
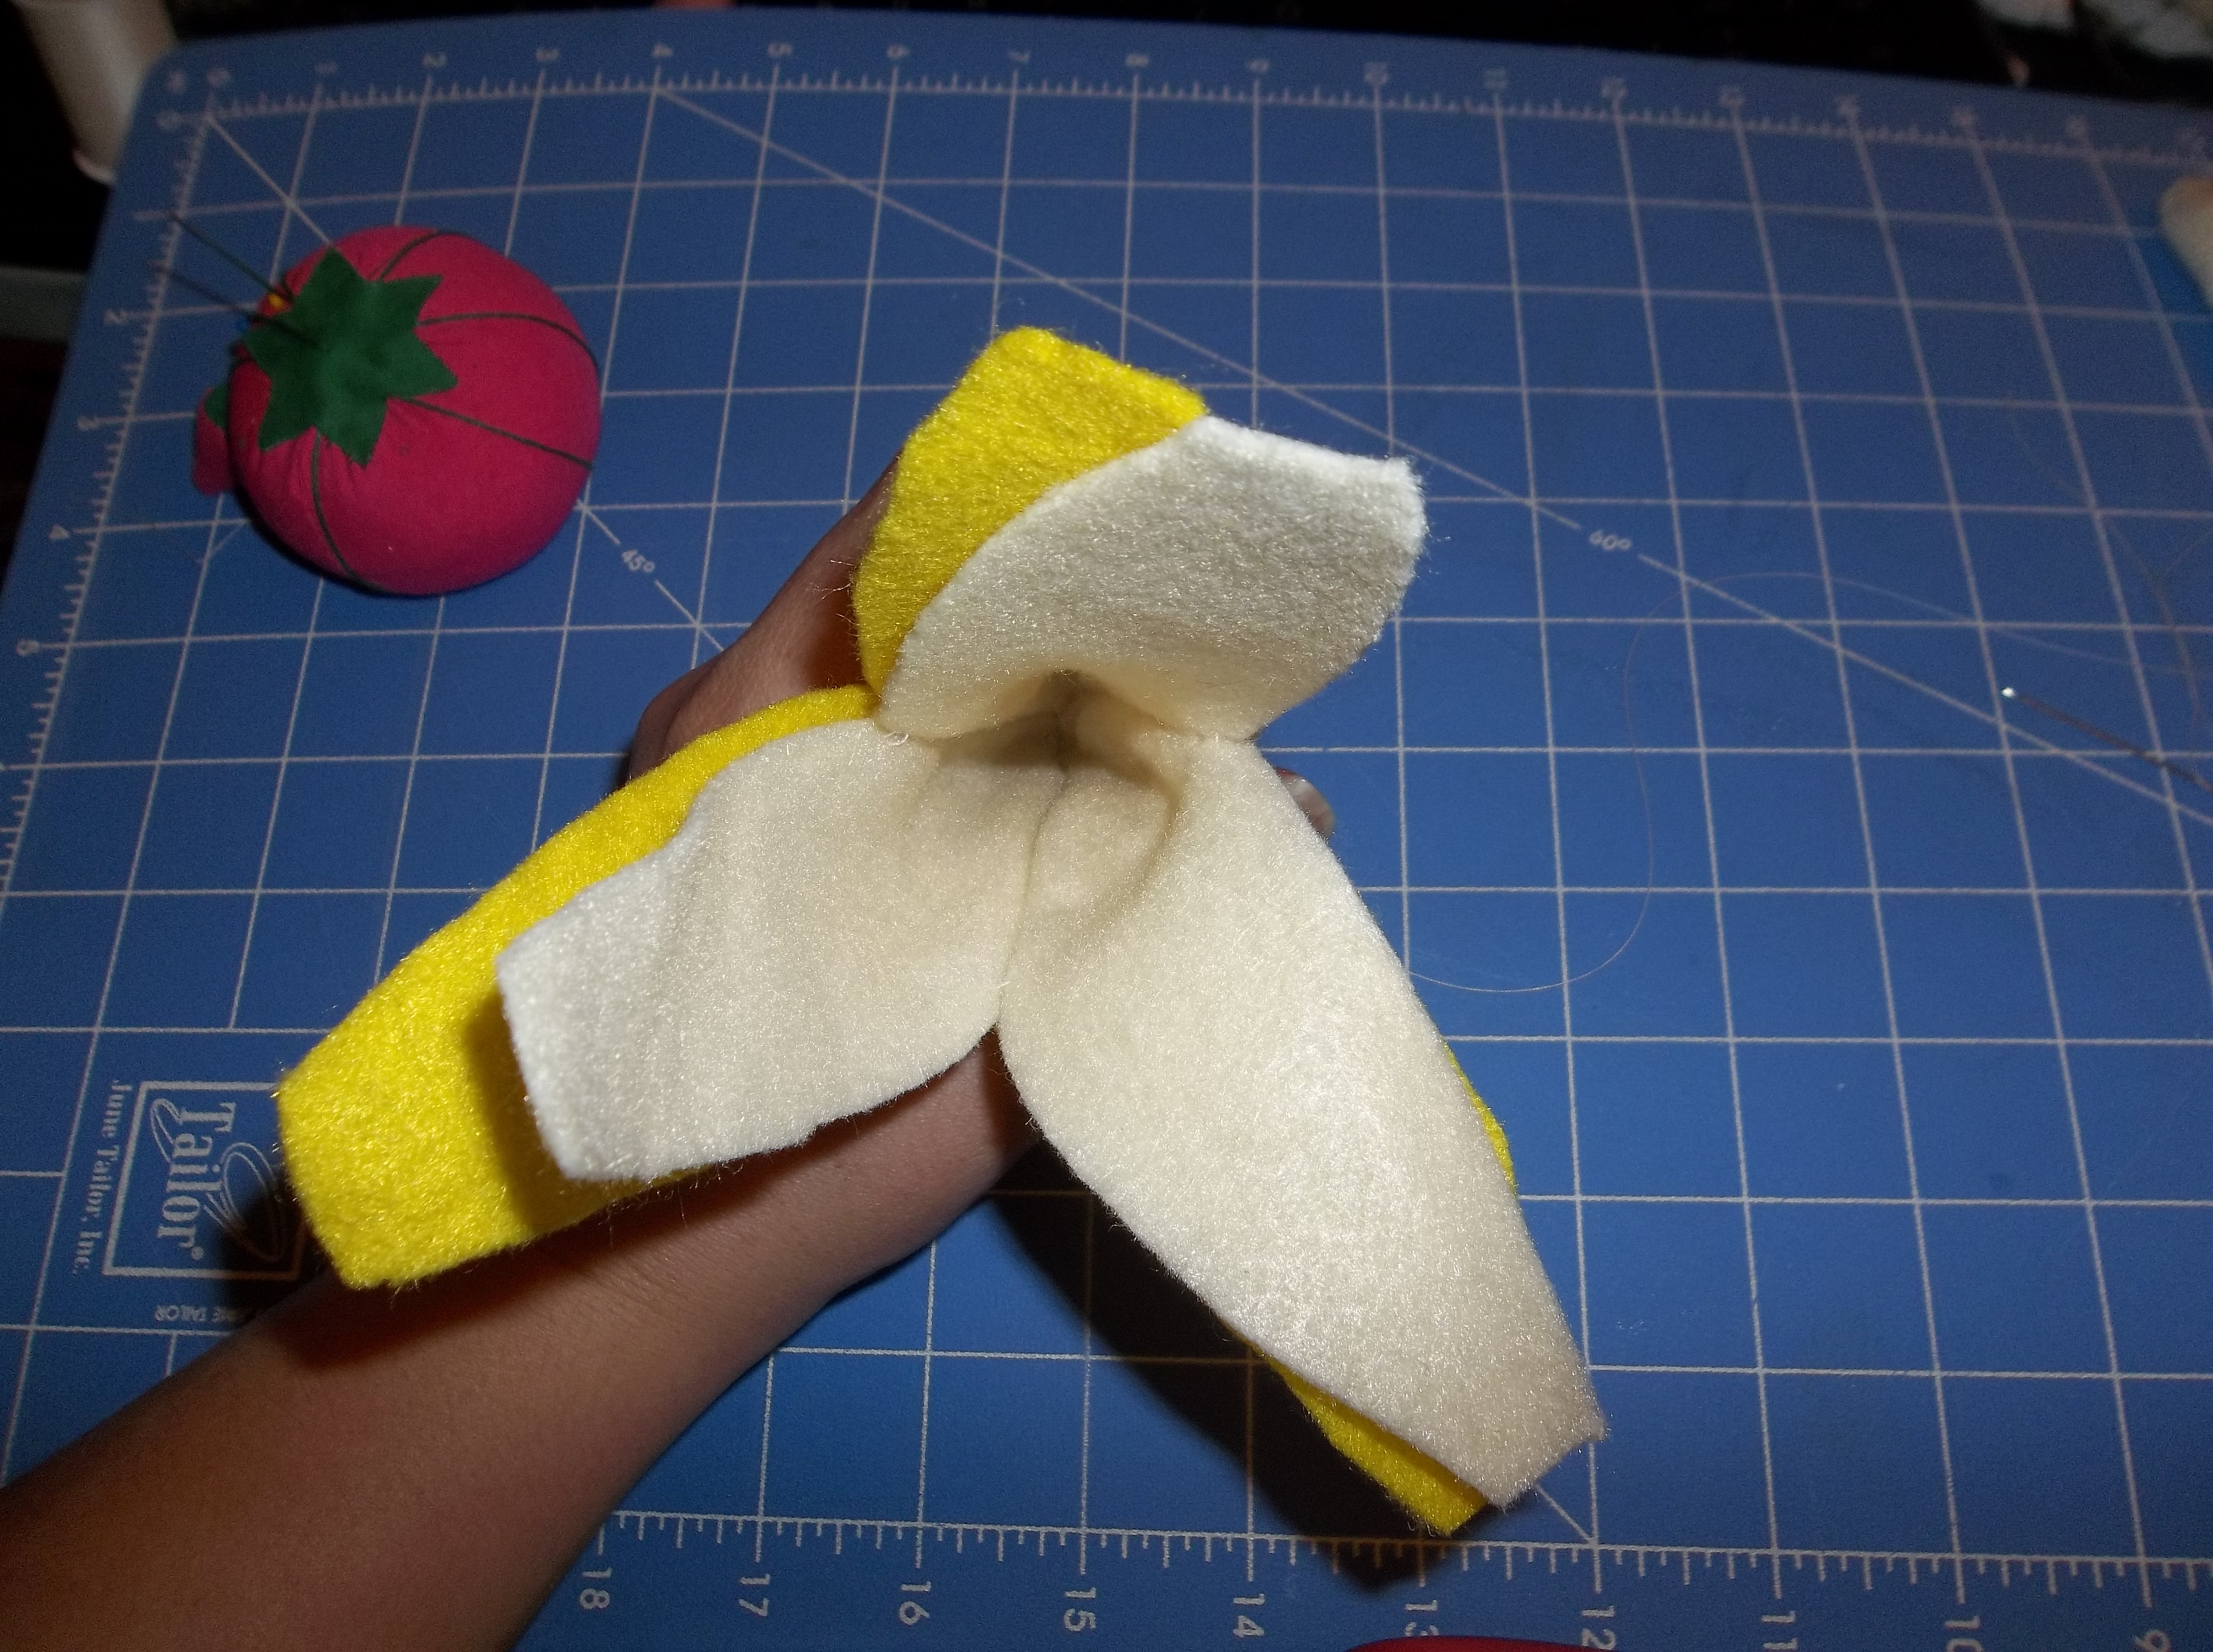
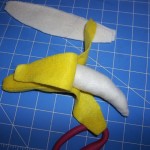 Take a moment break and see how your banana looks inside it’s half made peel, yay! Hi Banana! Look at you! <3
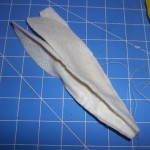 Now, repeat the steps you did for your yellow peel with your off white peel. But you aren’t going to turn this one right-side-out, you’re just going to leave it inside-out. Since you’ll be slipping this part of the peel right inside the yellow part.
Make sure that the sewn edges line up, so that everything sits well.
You’ll then have something like this on the inside. See, you don’t see the sewing, but rather a smooth edge. Granted, I didn’t take a picture with it lined up properly, but you get the general idea. Very nice <3
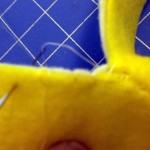 Now you’ll want to blanket stitch the white and yellow peel pieces together around all the open ends.
A blanket stitch is a pretty, and easy stitch to use that is perfect for this part of the project. I wouldn’t recommend machine sewing here, unless you want to really… but I honestly prefer the blanket stitch on here and use it often for felt food.
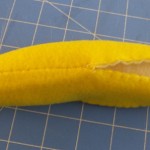 There you go, a wrapped up banana! All for you!!


Very awesome my kids with love this. Thank You Aoikasan
That’s awesome and looks so real! Great job!
That is WAY too cool! I love it!
It looks nice to eat. Yay, gonna make this one cute banana for key holder, Thanks for the pattern 🙂
Wow! I thought it was a real banana 😉 looks convincing!
What do you do with it?
It’s great for play kitchens 🙂
too cute- we want to try a felt cupcake one day
This is such a cute idea. Thanks for sharing!
You are very creative! I love bananas and I eat them every single day 🙂 Love the outcome 🙂
That is so cute. I wish I was that creative.
Lisa Trudell recently posted…Arthur Bryant’s original spot makes for great BBQ
This is great! My children primarily play with toys made from wood, bamboo, stainless steel, and felt. I will send this to their grandma and hope she will make a bunch (heh)! 🙂
Becky Lyons Borgia recently posted…Looking For a Cleanser For Your Reusable Feminine Products (and other menstrual stains)? Review with Giveaway for Ruby’s Red Wash (Ends 01/21/14, Worldwide)
Hey you did so much of labor to put things together and then visualize every thing. A good job indeed, I never came across banana felt food before, a nice first time experience for me.
I love pretend food for imaginative play, especially for toddlers and preschoolers. This is adorable! You did an excellent job photodocumenting each step, and giving very clear directions. Great post.
Kim recently posted…The Juvenile Arthritis Mom
That is so adorable! I can do certain crafts, but when it comes to needle & thread I am all thumbs 🙂
Bibi @ Bibi’s Culinary Journey recently posted…Top 9 Most Popular Recipes of 2013
That would be a great toy for DD2!! she loves playing shopping and I’m always looking for new food for her to play with!
Jenn recently posted…Wordless Wednesday ~ New Year’s Eve traditions
Adorable! I cant wait for a bunch of other fruits and I can make a fruit bowl for my kids!
Shannon @ Mamamusing.ca recently posted…My Best Posts from 2013
Initially I thought it’s a real Banana .. You are very creative .. it’s great idea to decorate fruit basket with this 🙂
Thanks for sharing
This is such a fun craft. And if you could get different textures in it. Maybe something that makes sound inside the felt fabric, it would be perfect for our special education kids. Just an idea here…
Joanna Sormunen recently posted…Wednesday facts
That is such a cute idea.
Debi recently posted…Ham and Cabbage Stew
This is super cute and kids would LOVE IT! I wish I was good at sewing so I could make this!! You did a great job.
This would be the perfect accessory for my pet sock monkey! Of course…I guess I will have to learn to sew first…
Stacie @ The Divine Miss Mommy recently posted…@SunChips Big Game Twitter Party 1/08 9-10pm EST #SunChipsBBQ
aww that is so cute and creative would be fun to see a whole fruit series!
Veronica Spriggs recently posted…New Years Resolutions: How To Achieve Your Goals This Year
You are definitely talented… I must say it does look like a ton of work to do… 🙂
Elizabeth
Eliz@positivekismet recently posted…End of Year Review: Lessons Learned In 2013
How cute! It seems pretty easy to do once you get the right template. Thanks for sharing. Please share more of your felt food.
Pamela @ Still Dating My Spouse recently posted…Dating n Love: An Unconventional Librarian and her true Love
That is rally cute. I needed this tutorial a few months ago when we were making fruits and veggies during health lessons.
Tara V @ Tara, Dan & Clan recently posted…5 Scrumptious Valentine’s Day Cookies
Oh my! Not quite sure what I would do with this but thanks for the tutorial. Surely someone crafty would truly appreciate this.
Thanks so much for this great pattern. I just made a scaled down version to go with a Minion I made for the son of some friends! Turned out really cute!
Aww that sounds cute!
Im trying to make one! Thanks for making this tutorial. It helps alott
Nice tutorial! Thanks.
I’ve put a link to this tutorial on our charity site (Swedish).
Love this tutorial!
I have started hand-stitching my own felt food as I am training to be an early childhood teacher, and this is the first pattern I tried! They do look like real bananas. My stitching isn’t the neatest, but am still very proud.
Thank you for sharing this pattern!
Excellent post! We will be linking to this great post on our website. Keep up the great writing.
Thank you for this pattern and tutorial!! So wonderful of you to share.
I’m sewing felt food for my little granddaughter and love that the banana comes out of the peel.
I’m wondering about using a slippery material for the inside lining of the peel so she could use it without the nana. getting stuck in the peel. What do you think about that option? Would it work?